
A blister in the paint makes a convincing argument for a new coat. A stain suggests a better primer. A damp basement invites a shopping trip for a dehumidifier.
Before choosing any of them, ask where the water came from and where it's supposed to go. That answer determines whether you're repairing the house or repeating a cosmetic job. EPA guidance advises against painting or caulking a moldy surface. The moisture problem needs attention, and the surface needs to be cleaned and dried first.
For routine maintenance and renovation planning, following water is one of the most useful habits a homeowner can develop. It turns an alarming mark into a better question and gives the person assessing the building something more useful than “this wall always does that.”
The stain is a location, not a diagnosis
Water doesn't necessarily announce itself where it entered. The National Park Service's guidance for historic buildings explains that moisture can travel through concealed construction, making the source difficult to locate. Its advice is to establish the cause before choosing a treatment. Those principles are useful well beyond a formally designated historic house.
Consider the difference between two requests for help. “Repaint the ceiling” defines a finish. “Find out why this ceiling mark returns after rain from the west” defines a problem to investigate. The second gives a contractor a starting point without telling them what the answer must be.
Keep that distinction in the estimate. Ask what the suspected source is and which evidence supports that conclusion. Then have the contractor explain the proposed repair and what remains uncertain. If diagnosis requires opening a small area, ask what that investigation costs and how the opening will be made good. A neatly itemized painting quote still leaves a gap if nobody has agreed to investigate the recurring stain.
Trace the roof water all the way to its destination
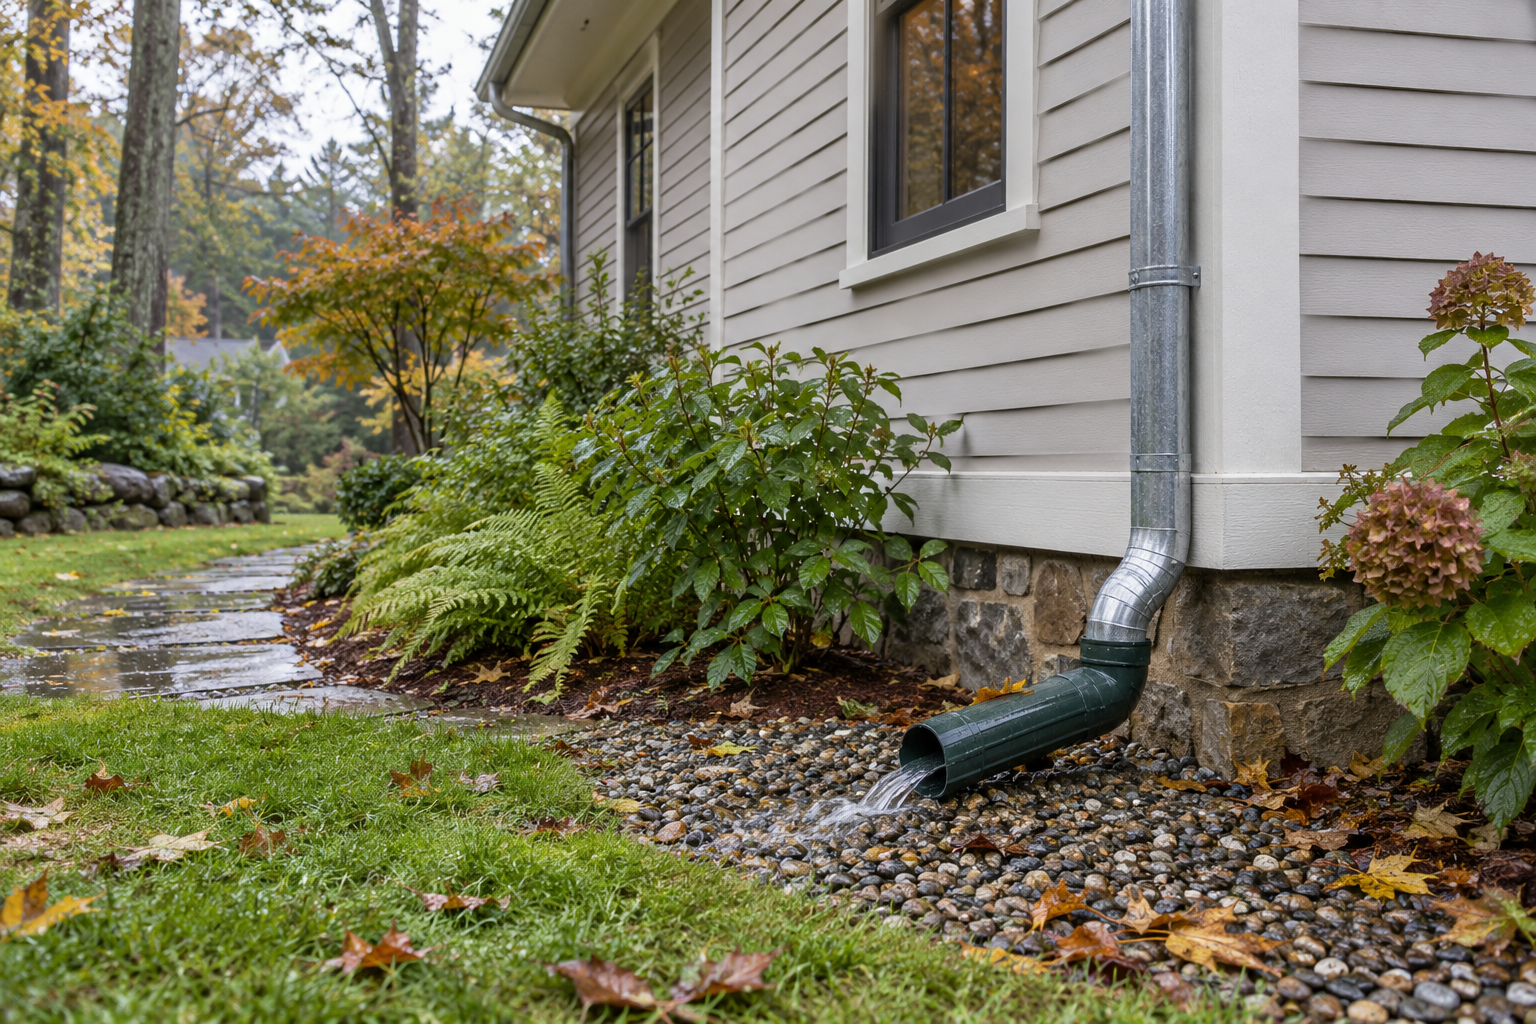
From a safe, sheltered position at ground level, notice what happens during ordinary rain. Follow the roof edge to the gutter corners. Watch the downspout joints, then look at the ground below. Does water overflow a section? Does a downspout discharge into a hollow beside the house? Does runoff return toward the wall after appearing to flow away?
The Building America Solution Center treats roof runoff and site drainage as a connected system. Gutters collect rain at the eaves. The downspouts and their outlets must then carry it away from the foundation. Water that accumulates beside the building can saturate the surrounding soil and contribute to moisture entering below.
This makes the last few feet of the route worth inspecting. A handsome new gutter doesn't finish the job if its outlet sends water to the wrong place. Ask a drainage contractor to identify the discharge destination and explain how the proposed route works with the property. Don't assume an underground pipe is functioning simply because its entrance looks tidy.
Keep your observations on the ground. Leave roofing and gutter access to people equipped to work safely at height. Concealed drainage also needs someone equipped to investigate it.
Separate a leak from water made indoors
Cooking and showering contribute moisture indoors. Plumbing leaks or damp ground can add to it. Condensation creates another possibility: water vapor can become liquid on a sufficiently cold surface. The EPA's moisture guidance also warns that a bathroom or kitchen exhaust should carry moisture outdoors, rather than into an attic.
That distinction changes the appointment you need. A mark associated with rain calls for a different investigation from repeated condensation around a cold surface. Neither can be diagnosed from the mark alone. If the room feels damp, ask an HVAC professional to look at humidity control and ventilation. The equipment's operation needs attention alongside any building leaks.
A basic humidity monitor can add context. EPA guidance suggests keeping indoor relative humidity below 60 percent, ideally between 30 and 50 percent where possible. Treat that as general guidance, not proof that a concealed wall is dry or that every building can use the same setting in every season.
The useful question is whether the measurements help explain the pattern. Write down where and when you took the reading. Include the temperature so you're handing over context rather than one isolated number.
Build a short record, not a theory you have to defend
The National Park Service recommends documenting moisture evidence and observing how it changes with weather and building operation. A simple record can reveal relationships that a visit on a dry afternoon misses.
Give each recurring issue a name: “upstairs landing, east corner” is enough. Photograph the whole area and the detail. Note when you first saw it, what was happening, and whether it changed. Keep earlier repair invoices with the photographs. If something has already been tried, record exactly what, including the product where you know it.
Leave a space for unanswered questions. This helps resist a surprisingly expensive habit: selecting a repair and then collecting only the evidence that seems to support it. A useful record can change your mind.
Documentation mustn't become a reason to wait out an active leak. Arrange prompt help for ongoing intrusion or significant damage. Make the record while the problem is being addressed.
Make the renovation scope account for drying
Moisture control involves more than a single visible surface. EPA's guidance for building professionals covers the building from its foundations to its roof, including walls. It also addresses plumbing and HVAC, with checks to confirm that proposed moisture controls are implemented. For a homeowner comparing renovation proposals, the implication is practical: ask who's responsible for the connections between trades.
If a roofer corrects a leak and a painter repairs the ceiling, who confirms the affected material is ready for finishing? If a contractor removes damaged trim, who assesses what is behind it? Put those handoffs in writing. “Repair as needed” is hard to evaluate when neither the investigation nor its limits is described.
Be equally deliberate when work changes how air moves through the house. The Department of Energy pairs air sealing with an assessment of ventilation and combustion-appliance needs. A tighter house requires those needs to be considered together.
Ask the contractor how the proposed work affects the existing building, not simply whether the new material is considered a good product.
Decide what will count as a successful repair
Before approving the finish work, agree on what the responsible professional will check and when. Ask whether follow-up after comparable weather is appropriate, which photographs or measurements should be retained, and whom to contact if the mark returns.
Keep the cause, repair, and finishing work together in the house records. A future owner or contractor should be able to understand the decision without having to reconstruct it from a patch of newer paint.
The satisfying part of preservation is often invisible: a drainage route that works, a leak that has been traced, a repair that makes sense of the damage. The new finish can still be beautiful. Give it a sound reason to stay that way.
Key takeaways
- Investigate the source of a recurring stain before committing to new finishes. Follow roof runoff through to its discharge point.
- Give the person assessing your home a short record of symptoms and conditions. Arrange prompt help for active leaks while you document them.
- Put responsibility for drying and follow-up into the repair scope, including how the work will be checked before finishing.
The Preservationist is published by PSP Coatings. The accompanying image is a generated editorial illustration.